
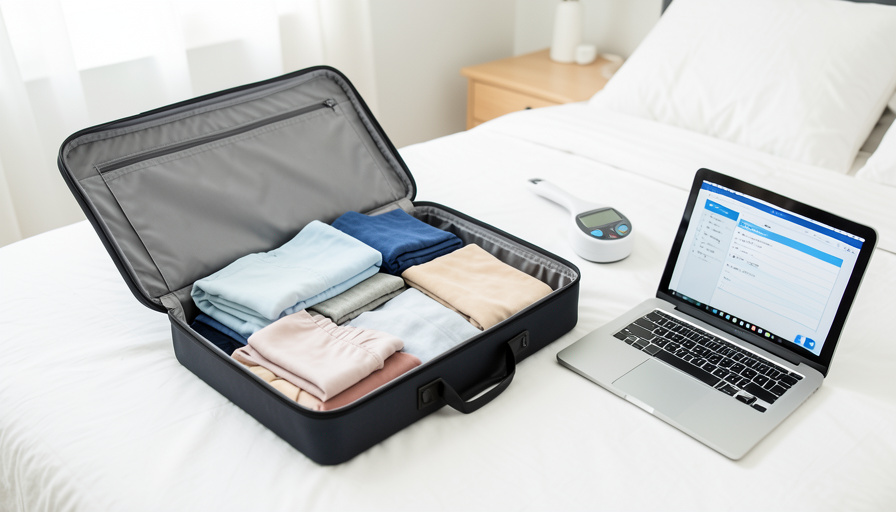
12 Packing Spreadsheet Fields That Prevent Overweight-Bag Fees
Overweight-bag fees are one of the few travel costs that are completely avoidable and still catch millions of people at the counter, where the airline has the upper hand and the only options are pay up or repack on the floor. A packing spreadsheet moves that moment home, where you can fix it calmly. The trick is giving the sheet the right fields, the specific columns that map to what actually triggers a fee. Here are the twelve that do the work.
You do not need to be a spreadsheet person for this. You weigh each type of item once, tell the sheet which bag it goes in, and let it total each bag against the airline’s limit so an overweight bag shows up as a red number days before your flight. Build it once and reuse it for every trip, updating only what changes. Below are the fields, why each earns its column, and the three small formulas that turn the list into a scale.
The Short Version
A fee-proof packing sheet needs fields for the item, its category, quantity, and unit weight, then a total-weight field that multiplies quantity by unit weight. Add a bag-assignment field so each item is tagged to a checked bag, carry-on, or personal item, a per-bag running total, the airline’s weight limit for that bag, and an over-or-under field that flags when a bag exceeds it. Round it out with a wear-on-board field for the heaviest items you can wear instead of pack, a battery field for lithium items that must go in your carry-on, and a priority field so you know what to cut first. Weigh once, assign to bags, and the sheet warns you at home instead of the airline warning you at the counter.
How the sheet prevents a fee, in one idea
The whole system rests on one move: weigh each kind of item once, then let arithmetic do the rest. Put your items in rows, with the item in column A, category in B, quantity in C, unit weight in D, and total weight in E. Add a bag column so every item is assigned to a specific bag, and keep a small summary area where each bag’s total is compared to its limit. Now, instead of hoisting a mystery suitcase onto a scale and hoping, you can see that your checked bag is sitting two kilograms over its allowance while it is still on the bed, and shift or shed items deliberately. The fields below are just the columns that make that comparison accurate and honest.
The 12 fields
- Item. The name of the thing, one per row. Keep it specific enough that you know what it is at a glance, since “shoes” and “hiking boots” weigh very differently.
- Category. Group items as clothing, tech, toiletries, shoes, and so on, so you can spot which category is quietly dominating your weight and where to trim.
- Quantity. How many of that item you are packing. Three pairs of jeans is three times the weight of one, and the sheet needs the count to total correctly.
- Unit weight. The weight of a single item. This is the foundational field: weigh each item type once on a kitchen or luggage scale, and you can reuse that number on every future trip.
- Total weight. Quantity times unit weight, as a formula, so this fills itself. This is what actually adds up toward your limit, and it updates the moment you change a quantity.
- Bag assignment. Which bag the item goes in, checked, carry-on, or personal item. This is what lets the sheet total each bag separately, since each has its own limit.
- Per-bag running total. A summary field that sums the total weight of everything assigned to one bag. This is the number you compare against the airline’s allowance.
- Bag weight limit. The airline’s allowance for that specific bag on your route and fare, entered as a reference. Limits vary widely by airline and ticket, so use your actual booking, not a guess.
- Over or under. The limit minus the bag’s running total, so a positive number is headroom and a negative one is a fee waiting to happen. Color it red when negative and you cannot miss it.
- Wear on board. A flag for the heaviest items you can wear onto the plane instead of packing, like boots and a coat. Marking them lets you move weight off a checked bag without leaving anything behind.
- Battery or lithium. A field noting lithium batteries, power banks, and their watt-hour rating and count, since spare lithium batteries must travel in your carry-on and have limits. It is a compliance trigger as much as a weight one.
- Priority. Mark each item essential or optional. If a bag comes in over, this field tells you instantly what to cut first, so you are trimming the nice-to-haves rather than the necessities in a panic.

The three formulas that do the math
Only three formulas turn this list into a working scale. First, total weight for each row, with quantity in C and unit weight in D: =C2*D2. Second, a per-bag total that sums the weight of everything assigned to a bag, using the bag column F and the total column E, with SUMIF: =SUMIF(F:F, "Checked", E:E), repeated for each bag name. Third, an over-or-under check comparing that total to the limit, so it tells you plainly where you stand: =IF(BagTotal>Limit, "OVER by "&TEXT(BagTotal-Limit,"0.0")&" kg", "OK"). Swap in your own cell references, add conditional formatting to turn the result red when it reads OVER, and the sheet flags a heavy bag on sight. Everything else is just entering weights once and keeping the bag limits current.
Main Takeaways
- Weigh each item type once into a unit-weight field, and let a total-weight formula multiply it by quantity so the math stays honest.
- Assign every item to a bag, then total each bag with SUMIF and compare it to that bag’s actual airline limit.
- An over-or-under field, colored red when negative, turns a hidden overweight bag into an obvious warning days early.
- Use a wear-on-board field to shift the heaviest items off a checked bag, and a battery field to keep lithium items compliant in your carry-on.
- A priority field tells you what to cut first, so trimming weight is deliberate rather than a scramble at the counter.
For more travel-planning tips, browse the DelightfulBlogs Travel section, or follow our Lifestyle desk.
Frequently Asked Questions
Do I have to weigh every single item?
You weigh each type of item once, not the whole bag repeatedly. Record the unit weight of a shirt, a pair of jeans, your toiletry bag, and so on, and the sheet reuses those numbers forever. After the first trip, you are mostly adjusting quantities and bag assignments, which takes minutes.
How do I total each bag separately?
Tag every item with a bag in the assignment field, then use a SUMIF formula that adds up the total-weight column for each bag name. Repeat it for your checked bag, carry-on, and personal item, and compare each result to that bag’s limit. That per-bag view is what catches an overweight bag before you leave.
What weight limit should I enter?
Use the exact allowance from your booking, not a general figure, because limits vary by airline, route, and fare class, and budget carriers are often stricter. Check your confirmation or the airline’s baggage page for your ticket, and enter that number so the over-or-under field reflects your real flight.
Why include a battery field on a weight spreadsheet?
Because lithium batteries are both a weight item and a safety-rule item. Spare lithium batteries and power banks must be carried in your cabin bag, not checked, and there are limits on their capacity. Tracking their watt-hour rating and count keeps you compliant and avoids repacking or confiscation at security.
What if a bag is still over after everything?
Lean on the wear-on-board and priority fields. Wear your heaviest items, like boots and a coat, onto the plane to move that weight off the bag, then cut from the items marked optional first. If it is still over, redistributing to a carry-on or personal item that has headroom is usually cheaper than an overweight fee.
The Bottom Line
An overweight-bag fee is what you pay for not knowing a number you could have known at home for free. A packing spreadsheet with these fields turns that unknown into a plain figure on a screen: each bag’s weight, its limit, and exactly how much room is left, updated as you pack. Build it once, weigh your items a single time, keep your airline’s limits current, and the counter stops being a gamble. The scale at the airport just confirms what your sheet already told you, which is the whole point.